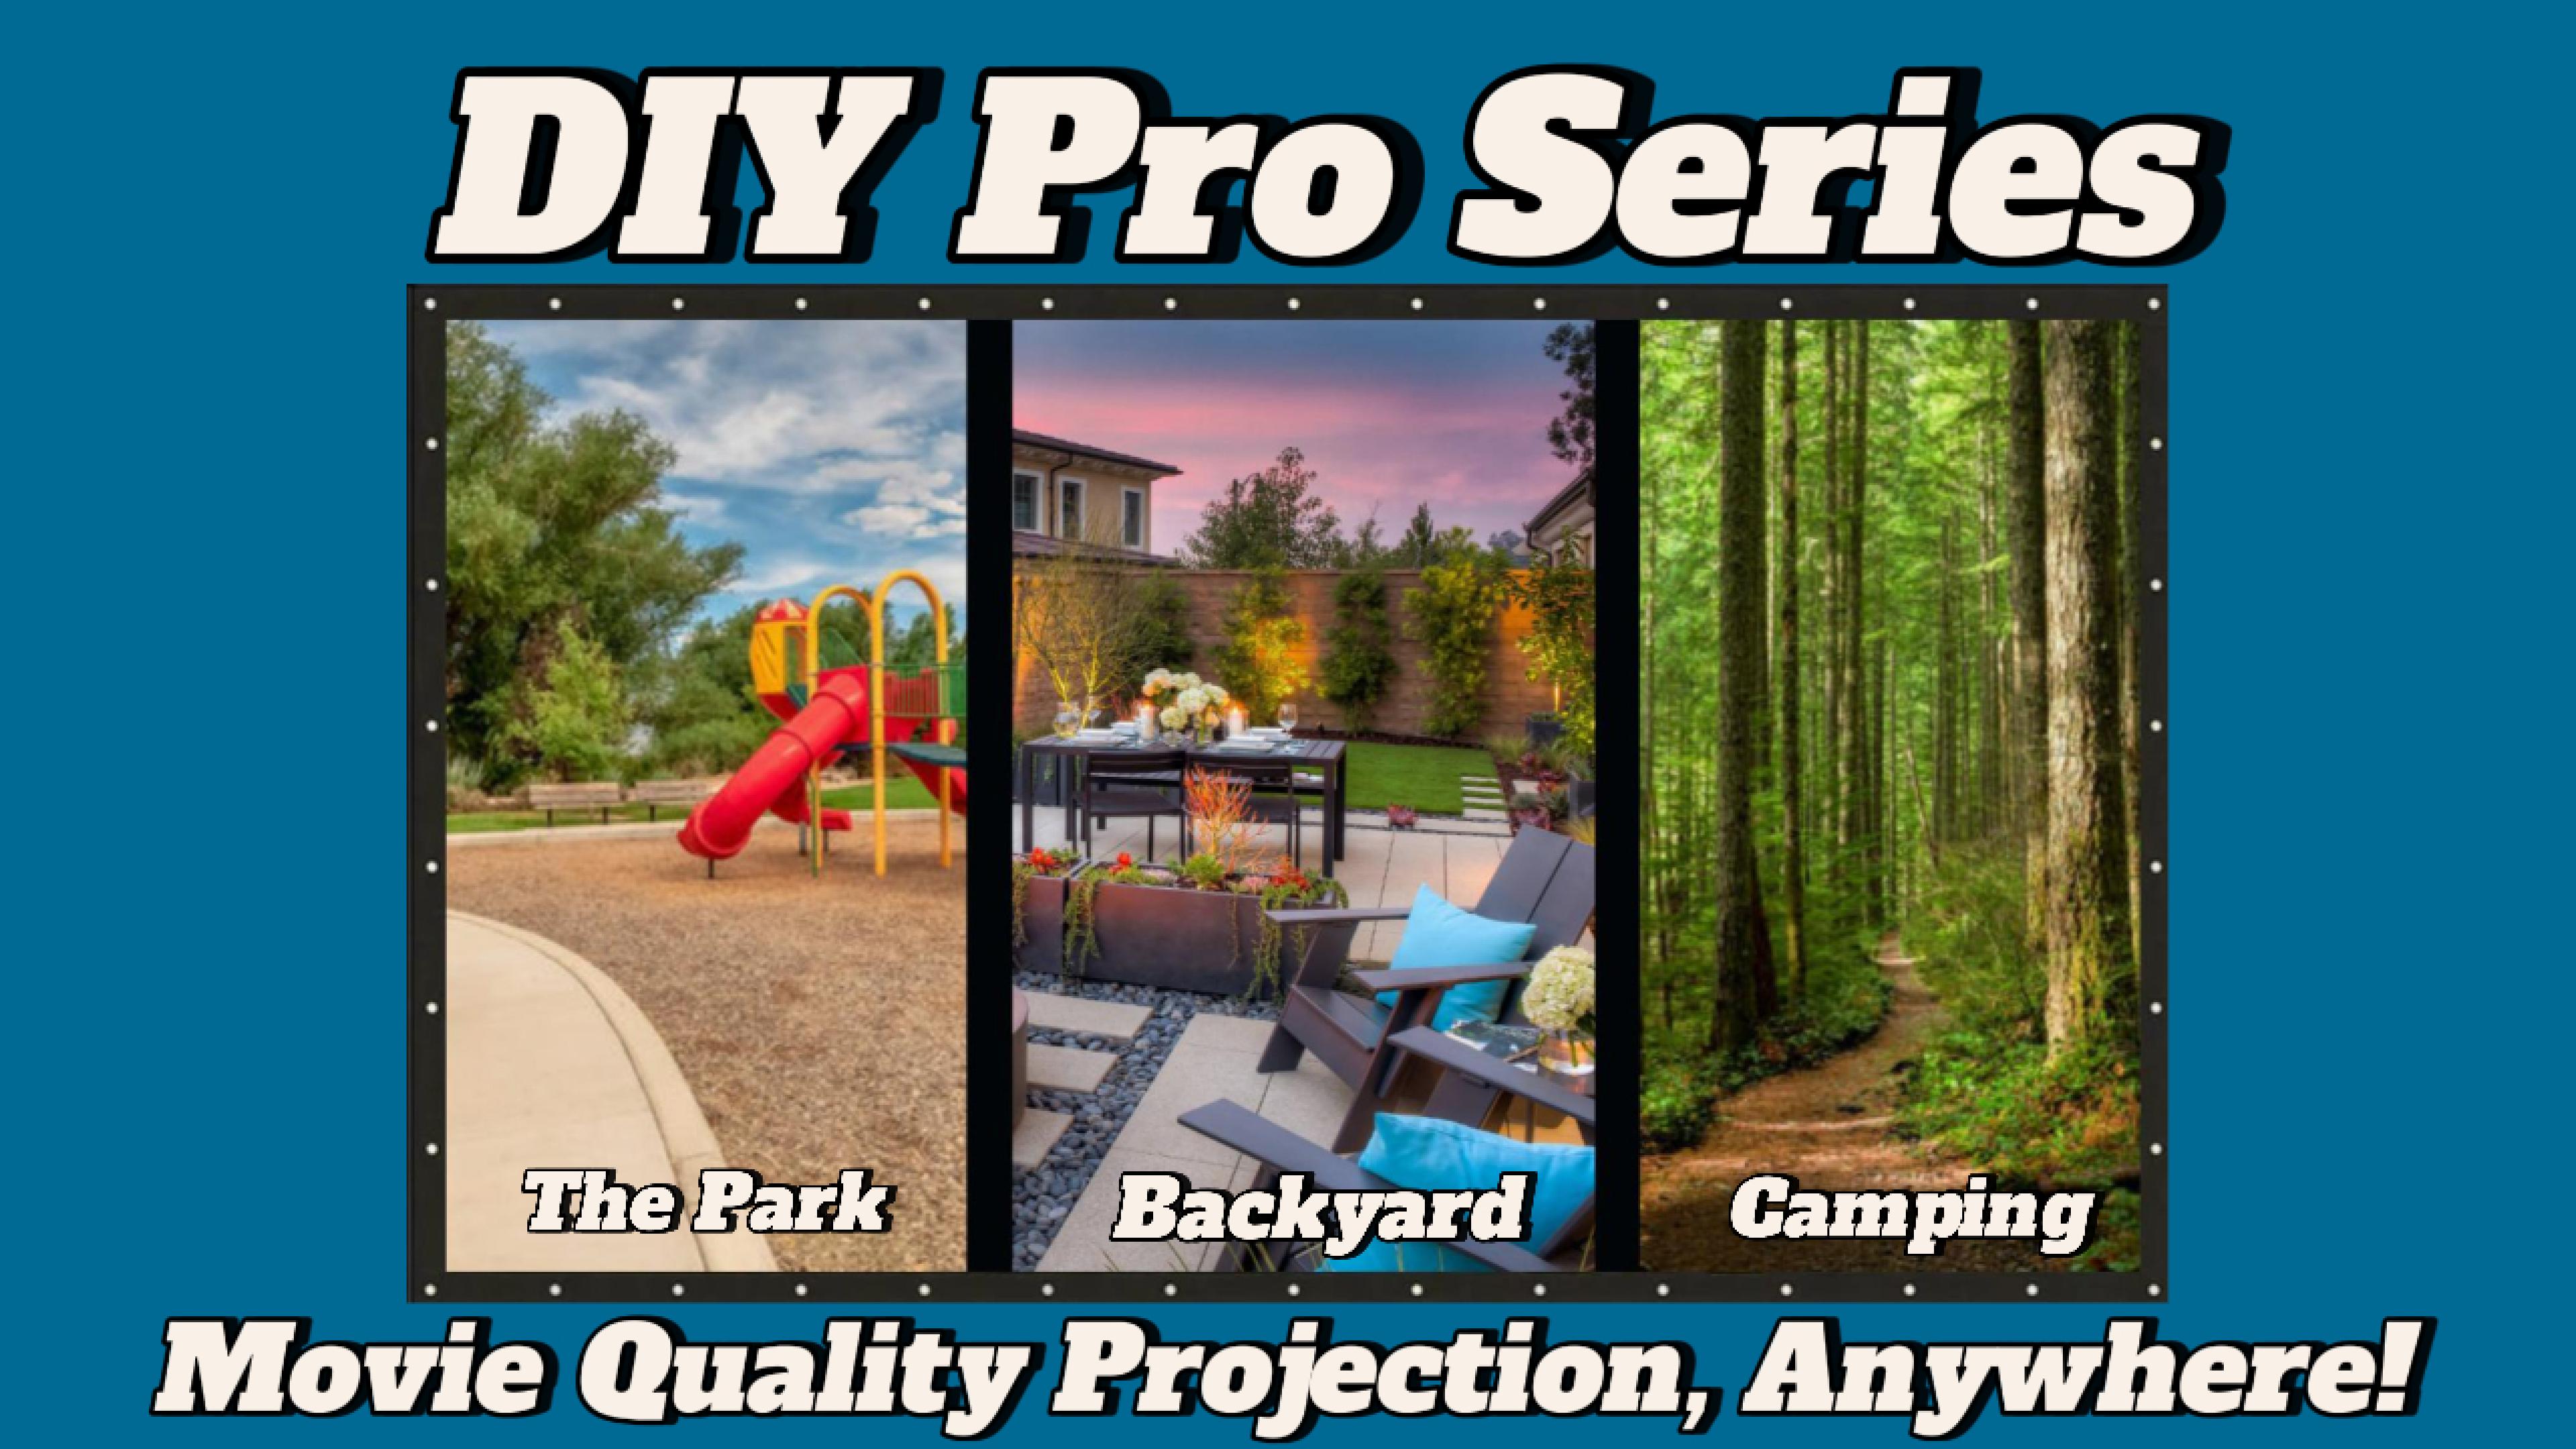
Here is a descriptive discussion on setting up the DIY outdoor projection screen.
Here are the links used in the discussion:
- Video – Unboxing, assembling and hanging the DIY screen indoors https://elitescreens.com/elitetube/DIYWall3_OutdoorAssembly_VideoWeb.mp4
- Video – DIY garage installation https://elitescreens.com/elitetube/diy_rear_garage.mp4
- Video – DIY Patio installation https://elitescreens.com/elitetube/diy_rear_patio.mp4
*The discussion below is based on actual chat transcripts with the omission of any personal/confidential material to protect the customer’s privacy. An example in this case is to change the contact’s identification name/number to “Customer” or a generic name.
Transcripts:
- [17:58] Tim: Hi, I have a question about setting up my elite screen Outdoor Projection Screen from the DIY Screen Series.
- [17:59] Rick: Hello, I’d be glad to help out.
- [18:00] Tim: I need help getting it set-up outside.
- [18:00] Tim: I have a place and have ropes but I need directions to know how to make it tight and full, if that makes sense
- [18:01] Tim: a video would be perfect but I can’t find one
- [18:03] Rick: Here is the general product video – assembly instructions – and how to hang it. https://elitescreens.com/elitetube/DIYWall3_OutdoorAssembly_VideoWeb.mp4 Here is a garage installation https://elitescreens.com/elitetube/diy_rear_garage.mp4 and here is a patio installation video. Just attach the cords to the tent stakes instead of the upright columns https://elitescreens.com/elitetube/diy_rear_patio.mp4
- you will need to start with the 4 corners. it can be in a garage door or a wall. once you have the corners secure you will add the ropes around to prove an even stretch. over stretching can cause more ripples on the material.
- [18:05] Rick: Also, some customers build a frame over it to provide an even tension all around.
- [18:06] Tim: So, do I take the BIG rope through all four corners?
- [18:06] Tim: Or do I use the little loop ropes (1 for each corner) and secure them individually
- [18:09] Rick: You can individually loop each corner.
- [18:09] Rick: here is a reference photo.
- [18:09] Rick: Here is a shed installation photo. File : https://tawk.link/598aa11bdbb01a218b4db711/a/579b82be0995142b0d81b97f/3017e53c10b4d9f5598bd97ffd5b711201229bb7/image.png
- [18:10] Tim: thanks
- [18:10] Rick: Here is a detail photo of the corner connection. File : https://tawk.link/598aa11bdbb01a218b4db711/a/579b82be0995142b0d81b97f/80442896011af9b1f7459d2848dd90da2997ed0e/image.png
- [18:11] Tim: Cool, these are helpful, do you have others too.
- [18:12] Tim: I am going to go try now. thank you.
- [18:13] Rick: You’re welcome, here is one more showing how to secure it if you build a frame.
- [18:13] Rick: Here is an image of a home-made pipe frame. File : https://tawk.link/598aa11bdbb01a218b4db711/a/579b82be0995142b0d81b97f/b5dcd3190d3534c3c479adb618b096d2eb8c7095/image.png

