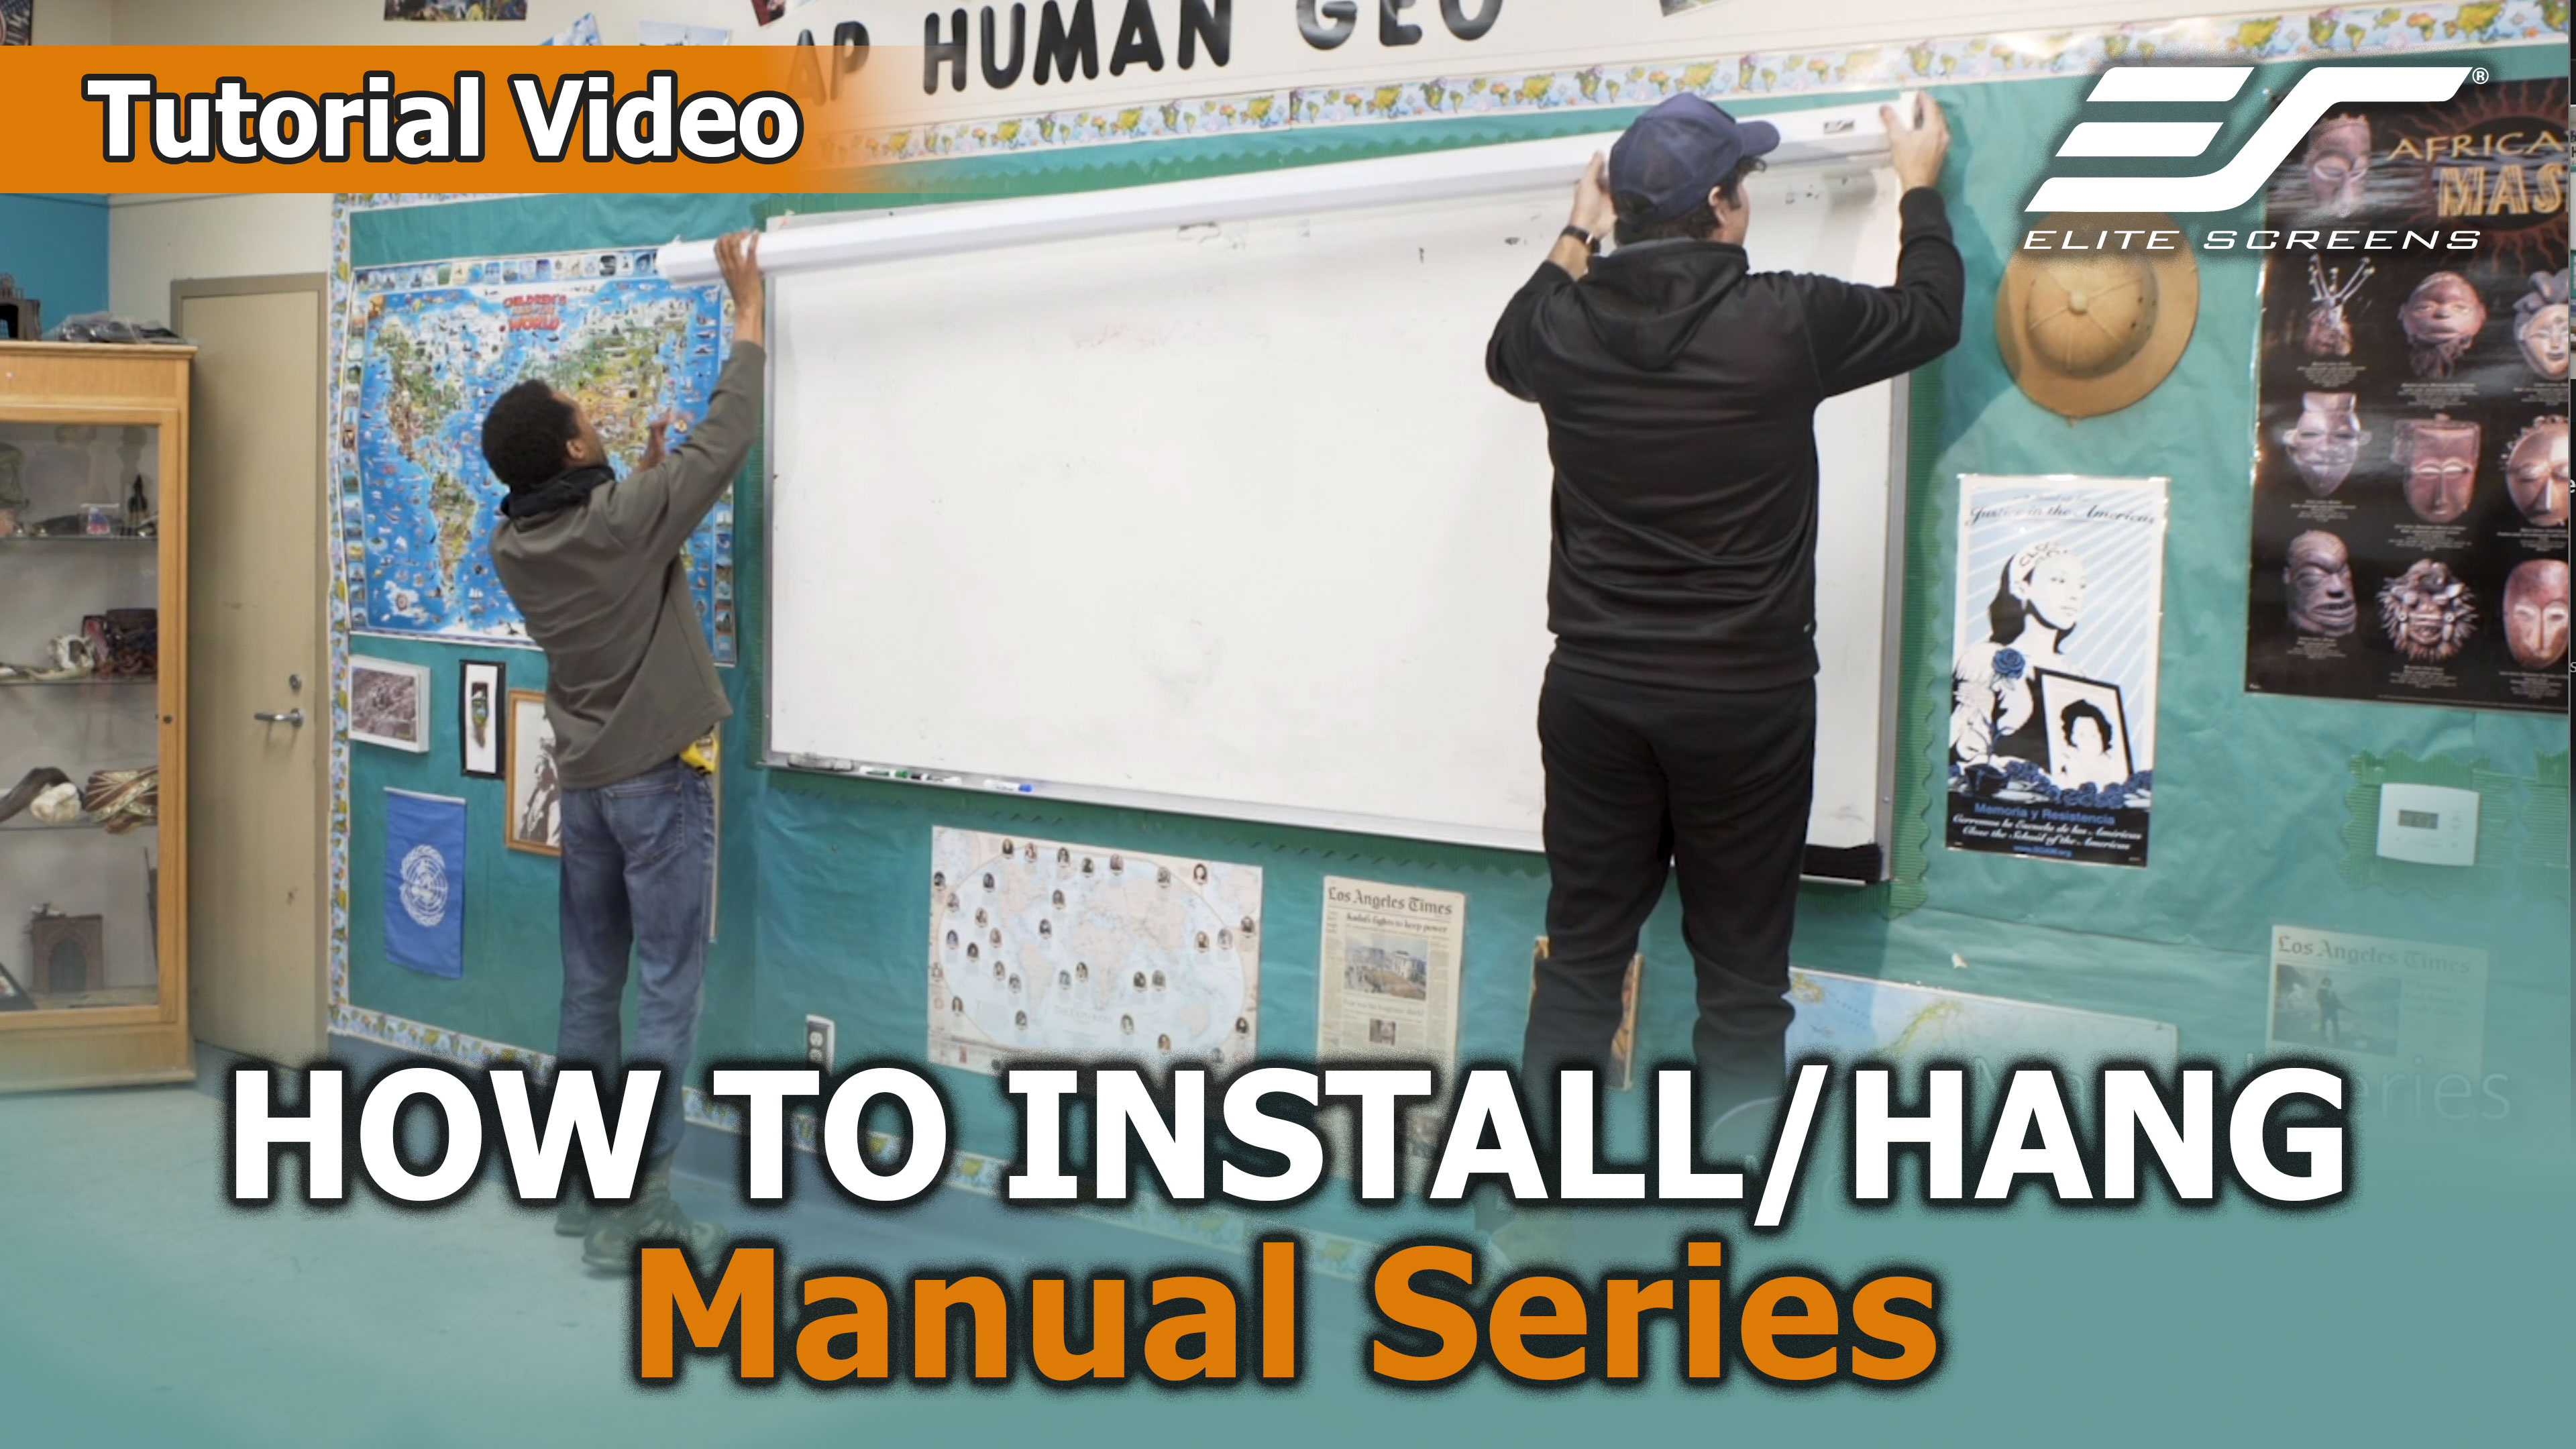
Sometimes it really is that easy. This customer is walked through the basic assembly and installation process of her new Sable Frame projector screen.
Here are the links used in the discussion:
- Sable Frame 2 URL https://elitescreens.com/front/front/productdetail/product/48
- Sable Frame assembly and installation video: https://elitescreens.com/elitetube/fixed_frame_assembly620.mp4
- Instructions on properly installing a projector screen in general: https://elitescreens.com/elitetube/MountingScreen_RightHeight.mp4
*The discussion below is based on actual chat transcripts with the omission of any personal/confidential material to protect the customer’s privacy. An example in this case is to change the contact’s identification name/number to “Customer” or a generic name.
Transcripts:
- [17:35] Jaime: Hello, how may I help you?
- [17:37] Customer: We purchased a 135 screen sable frame 2. We have it put together but are confused with the hanging instructions. It shows 2 clips on top and one at the bottom. There are 4 included. How can you install ones on the top and bottom?
- [17:38] Customer: sliding wall mounts
- [17:39] Jaime: To install the bottom brackets, you have to measure the distance between the top of the frame and the bottom groove of the frame.
- [17:39] Jaime: You then mark the holes with a pencil of where the brackets will be attached
- [17:39] Jaime: you place the frame over the top brackets, and then push the bottom portion of the frame over the bottom brackets
- [17:40] Jaime: you do not need to use the bottom brackets if the screen is not bowing away from the wall from the bottom corners of the frame
- [17:42] Customer: I will show this to my husband when he gets home. Would it be better to use more on top?
- [17:43] Jaime: you can use a third one on the top, in the middle if necessary
- [17:43] Jaime: usually, only two brackets are needed. Here is a video on proper installation: https://elitescreens.com/elitetube/MountingScreen_RightHeight.mp4
- [17:43] Jaime: And here is the full instruction on assembly and mounting: https://elitescreens.com/elitetube/fixed_frame_assembly620.mp4
- [17:43] Customer: We couldn’t understand how you can hook the bottom one without bending it.
- [17:45] Jaime: your husband can call us once he is ready to install the bottom brackets, but first, after hanging the frame on the top brackets, check to see if the bottom corners bow out from the wall.
- [17:45] Jaime: he can call me directly at 562-4838198 ext 237
- [17:47] Customer: If we don’t use the bottom, would we still be able to slide left/right if needed to center it?
- [17:47] Jaime: yes, that is correct.
- [17:50] Customer: We’ll check out the videos. We looked at many videos but none of them showed how to attach the bottom bracket. Thanks for your help. We will call if we need to.
- [17:52] Customer: One more question to make sure I understand. Either way (bottom bracket or not) we would install the top brackets and hang the screen on them before we would do anything with the bottom if needed. Is that correct?
- [17:52] Customer: Would there be any reason to use more than one on the bottom?
- [17:54] Jaime: you would be using more than one if you need to attach the bottom corners to the wall
- [17:55] Customer: OK, we’ll see what happens. Thanks!
- [17:56] Jaime: sure thing
- [17:56] Jaime: thank you for contacting us today.
