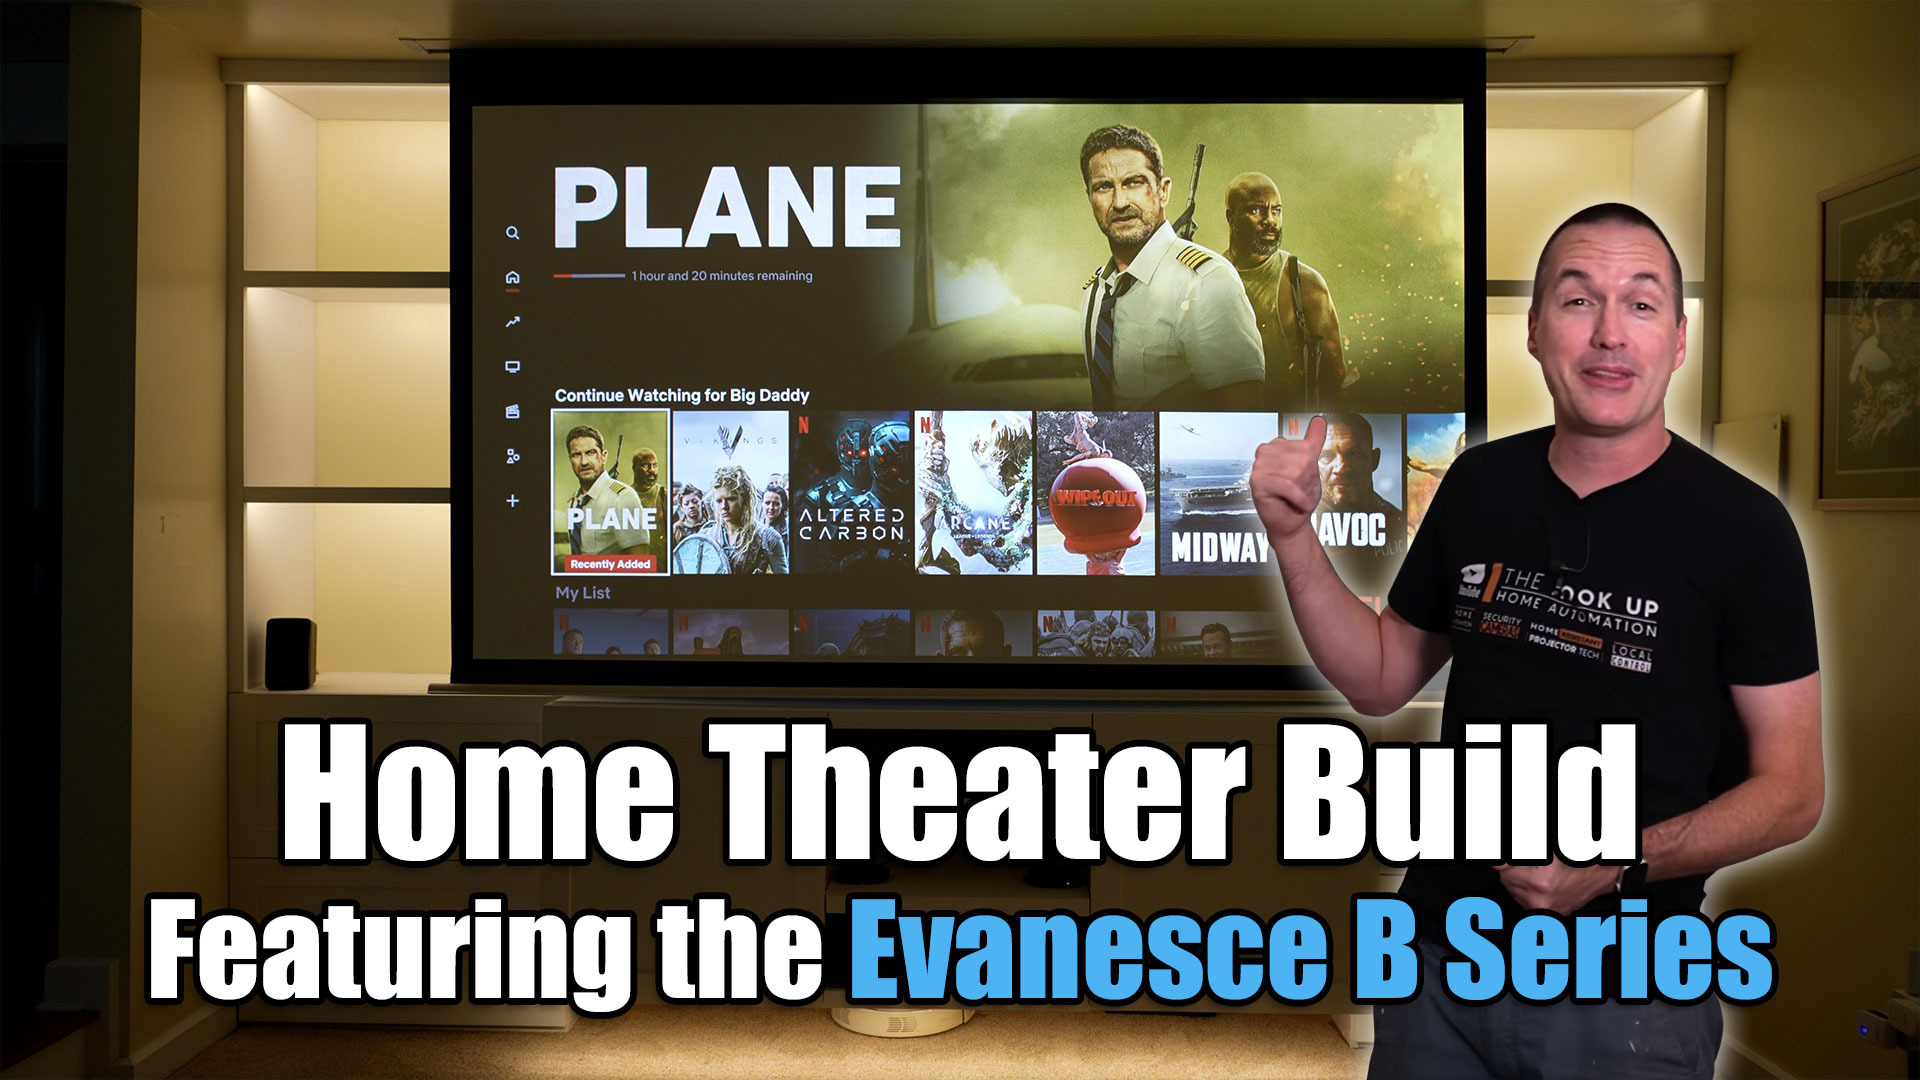
This is possibly the most important question about installing an “in-ceiling” projection screen. This was a real informative discussion on the full process of installing an in-ceiling projection screen in addition to searching out alternatives if the ceiling joists would have been perpendicular to the installation. Also discussed was how to implement a wireless 12-volt trigger that allows the projection screen to drop and rise in synchronization with the projector’s power cycle.
Here are the links used in the discussion:
- Tech tip – The proper way to install an in-ceiling projection screen – https://elitescreens.com/front/front/newsdetail/news/345
- Advanced search to find a specific projection screen model https://elitescreens.com/front/front/advancesearch
- Video – How to install the wireless RF remote control – https://elitescreens.com/elitetube/ZSP_TR01_setup_instructions.mp4
*The discussion below is based on actual chat transcripts with the omission of any personal/confidential material to protect the customer’s privacy. An example in this case is to change the contact’s identification name/number to “Customer” or a generic name.
Transcripts:
- [17:39] Customer: Hello, I am close to purchasing this screen (ETB120HW2-E8) but I have one last question that I can’t seem to find credible info on. Does this screen HAVE to run parallel to ceiling beams? Is there a way to mount going across beams?
- [17:40] David: Thank you for your question, it is an important one. I strongly advise against mounting an in-ceiling projection screen across your ceiling joists/beams. Unless you have an abnormally thick ceiling panel overlying the ceiling joists, you’ll have to cut into the beams and doing that will destroy their load-bearing capacity and undermine the structural integrity of the building itself. It can literally get your house condemned until the damaged beams are replaced…if possible.
- [17:41] David: Here is some really important advice for an installation like this. Wherever you live, remember to check with your State, County, City or Town government and see if a building permit is required for the home/facility modifications such as this. Since you are cutting and wiring into the ceiling, it may be necessary.
- [17:42] David: The instructions featured in this article and its accompanying video serve as a basic guideline for how an installation should be performed in a general setting. If you are not already a professional builder or installer, it’s highly recommended that you consult a professional to ensure that the final results are a safe and aesthetically pleasing installation.
- [17:43] David: Here is a tech tip I did a while back to offer installation tips for installing an in-ceiling screen: https://elitescreens.com/front/front/newsdetail/news/345 I hope this helps with your installation but if you’d choose to opt for a standard electric screen to hang from the ceiling, I can help you choose one that would be Ideal for what you are putting together. Please let me know.
- [17:44] Customer: Thank you for the information, albeit not what I was hoping to hear. Just bought everything for this room and this was the last piece which I didn’t realize I couldn’t mount in-ceiling. That being said, I need something, can you tell me equivalent model for a wall or below ceiling application?
- [17:45] David: It is bad news but I’m glad you asked first. Cutting across the beams would have been a big hassle. For an externally mounted electric screen that is 120” diagonal in a 16:9 aspect ratio that would be comparable to a ETB120HW2-E8, I recommend this…
- CineTension 2 Motorized Wall/Ceiling Screen TE120HW2-E36
- Planate Motorized Wall/Ceiling Screen PT120UHWB-E20
- Saker B Motorized Wall/Ceiling Screen SK120XHWB-E20
- Saker Tab-Tension Motorized Wall/Ceiling Screen SKT120XHWB-E20
- Spectrum 2 Motorized Wall/Ceiling Screen SPM120H-E12
- Starling Tab-Tension Motorized Wall/Ceiling Screen STT120XWH2-E12
- VMAX2 (Black case) Motorized Wall/Ceiling Screen VMAX120UWH2-E24
- VMAX2 (White Case) Motorized Wall/Ceiling Screen VMAX120XWH2-E24
- [17:46] David: I used our advanced search to find this selection: https://elitescreens.com/front/front/advancesearch I hope this helps. Please let me know if you’d like for me to connect you with our sales department.
- [17:47] Customer: Thank you so much for the search help. I actually received some great news. My contractor says that my ceiling joists are parallel so I CAN go with the recessed screen after all. That being said, you’ve been super responsive and helpful and I have a follow up question that I hope you can help me with. My electrician is wiring everything in the walls and ceiling before we sheetrock and we are a little confused about the correct way to wire this back to the projector in order to sync the power. The diagram and instructions are a little confusing, can you clarify what cable I need to purchase (if any) and how the connections should go? Thank you in advance for your help.
- [17:55] David: I am glad to see things work out after all. Normally, such inquiries are left to the service team but since this coincides with an article I recently made for the trade magazines, I opted to address your inquiry myself. The Evanesce in-ceiling screens comes with a standard NEMA 125v power connection. Please advise your electrician that he/she is cleared to remove the plug in order to facilitate hard-wiring the projection screen into the installation. This is one of the few exceptions we have on our warranty but having your electrician remove the plug to hard-wire will not void your warranty. Heaven forbid any warranty issue should arise but on the occasion that it might happen, please retain this email as confirmation that you were cleared to remove the plug without voiding the warranty. Thanks again, I appreciate your kind words and it was my pleasure to facilitate your request.
- [17:57] Customer: Thank you so much again. All very helpful info and I will run this by my electrician for sure. I think he will be happy this is an option as this was his preference. However, my question is more around the ability to wire so the screen goes up and down as the projector turns off/on. This is from the user manual but we are confused about the instructions. Which cable do i need? what are the steps to hook up?
- [17:58] David: Yes, the RF remote has a small wire cable that connects to the projector’s 3.5mm jack. The print instructions can be very obfuscating. Fortunately, I have another route. Here is a really good instructional video that actually shows you the process of doing this. https://elitescreens.com/elitetube/ZSP_TR01_setup_instructions.mp4
- The wireless remote is typically stashed on top of the projector so that it’s out of the way. Let me know if this works out okay.
- [17:58] Customer: Awesome! Thank you so much for this! I will probably end up trying this method. I’ll let you know how it goes. Once I actually purchase the screen. Probably buying it tomorrow or Friday. Thank you again for all the help. You’ve been super helpful.
- [17:58] David: My pleasure, I’m glad to have helped out. Thank you for choosing Elite Screens.
